Google Search Console Setup Guide for Beginners
Learn how to set up Google Search Console step by step. A beginner-friendly guide to verify your website, submit a sitemap, monitor SEO performance, and improve Google rankings.
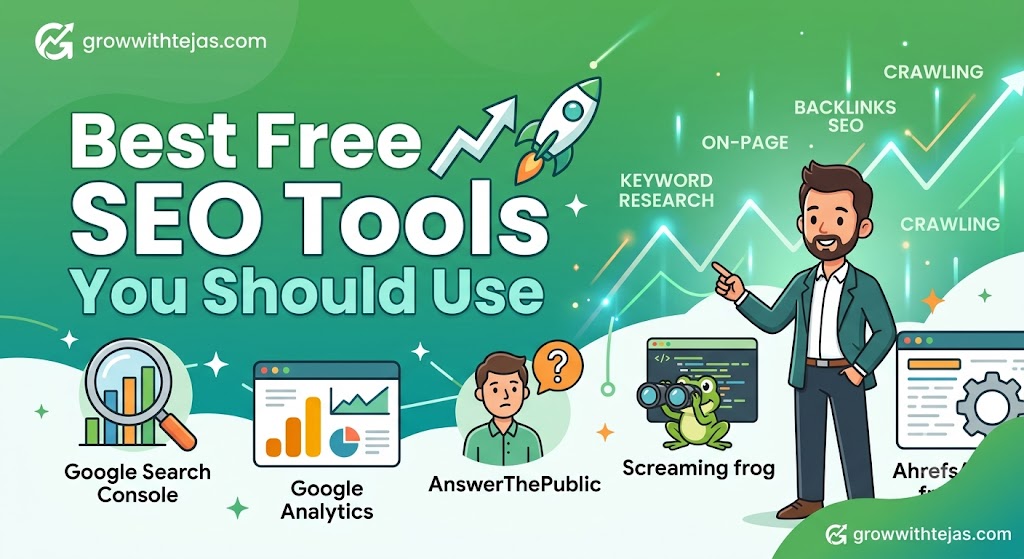
If you want your website to rank higher on Google, one of the first free tools you should use is Google Search Console (GSC). It helps you understand how Google sees your website, identify SEO issues, and improve your visibility in search results.
Whether you’re a blogger, small business owner, or just starting your first website, this step-by-step guide will show you exactly how to set up Google Search Console and use it to improve your SEO performance.
What Is Google Search Console?
Google Search Console is a free SEO tool from Google that allows website owners to monitor, maintain, and troubleshoot their site’s presence in Google Search.
With Google Search Console, you can:
- Monitor keyword rankings
- Check how many people find your site through Google
- Submit your XML sitemap
- Fix indexing issues
- Identify pages with errors
- Improve Core Web Vitals
- See backlinks pointing to your website
- Track mobile usability
If your website is not connected to Google Search Console, you’re missing valuable SEO data.
Why Should Beginners Use Google Search Console?
Google Search Console helps you understand:
- Which keywords bring visitors
- Which pages receive the most clicks
- Which pages are not indexed
- Technical issues affecting rankings
- Mobile and page experience problems
- Search performance over time
It’s one of the most important tools for long-term SEO success.
Step 1: Sign In to Google Search Console
- Visit the Google Search Console website.
- Sign in using your Google account.
- Click Start Now.
Use the same Google account you plan to manage your website with.
Step 2: Add Your Website
You’ll see two property options:
Domain Property (Recommended)
- Covers all versions of your domain:
- https
- http
- www
- non-www
- subdomains
Example:
growwithtejas.com
URL Prefix Property
Only tracks the specific URL you enter.
Example:
https://growwithtejas.com
For most website owners, Domain Property is the better choice.
Step 3: Verify Website Ownership
Google needs to confirm that you own the website.
Common verification methods include:
DNS Verification (Recommended)
Add the TXT record provided by Google to your domain’s DNS settings.
HTML File Upload
Upload the verification file to your website’s root directory.
HTML Meta Tag
Copy the verification meta tag and place it inside your website’s <head> section.
Google Analytics
If Google Analytics is already installed, you may be able to verify ownership automatically.
Google Tag Manager
Verification can also be completed using an existing Google Tag Manager container.
Step 4: Submit Your XML Sitemap
Submitting a sitemap helps Google discover your pages more efficiently.
If you’re using Rank Math or Yoast SEO, your sitemap is usually available at:
https://yourdomain.com/sitemap_index.xml
To submit it:
- Open Sitemaps in Google Search Console.
- Enter your sitemap URL.
- Click Submit.
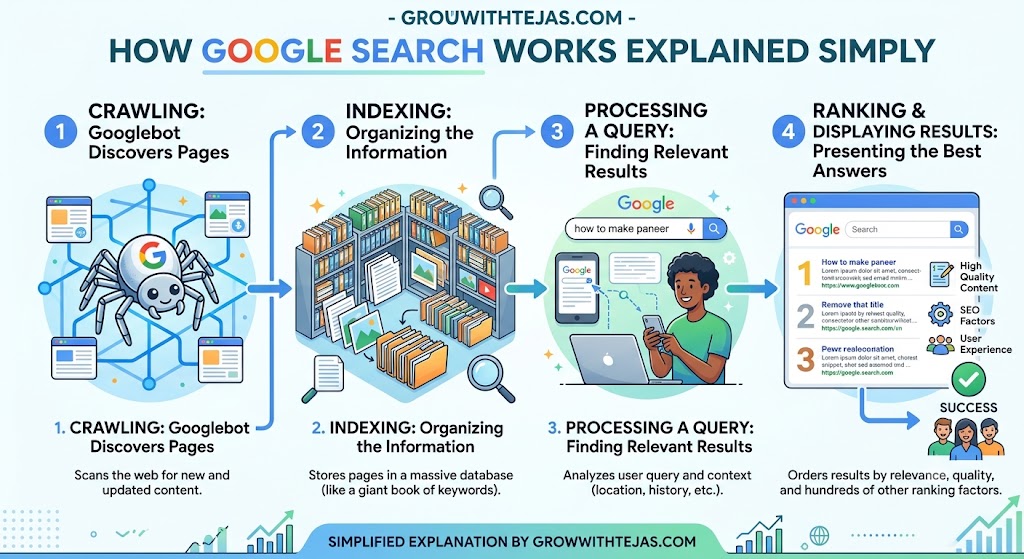
Google will begin crawling your website.
Step 5: Check Indexing Status
Open the Pages report to see:
- Indexed pages
- Excluded pages
- Crawled but not indexed
- Pages with errors
Fix indexing issues to improve your site’s visibility.
Step 6: Inspect Individual URLs
Use the URL Inspection Tool to:
- Check if a page is indexed
- Request indexing after publishing new content
- Identify crawl issues
Whenever you publish a new article, inspect the URL and request indexing to help Google discover it faster.
Step 7: Monitor Search Performance
The Performance report is one of the most valuable sections.
It shows:
- Total clicks
- Total impressions
- Average CTR (Click-Through Rate)
- Average position
You can also see:
- Top-performing pages
- Search queries
- Countries
- Devices
- Search appearance
Use this information to improve your content strategy.
Step 8: Fix Technical SEO Issues
Google Search Console highlights problems such as:
- Broken pages (404 errors)
- Redirect issues
- Mobile usability problems
- Core Web Vitals issues
- Security warnings
Fix these issues promptly to maintain a healthy website.
Step 9: Monitor Core Web Vitals
Core Web Vitals measure user experience.
The three key metrics are:
- Largest Contentful Paint (LCP)
- Interaction to Next Paint (INP)
- Cumulative Layout Shift (CLS)
Improving these metrics can enhance user satisfaction and support your SEO efforts.
Step 10: Check Backlinks
Google Search Console provides information about:
- External links
- Internal links
- Top linked pages
- Linking websites
Review this report to understand your site’s link profile and strengthen internal linking.
Common Beginner Mistakes to Avoid
- Not submitting an XML sitemap
- Ignoring indexing errors
- Forgetting to request indexing for new pages
- Publishing duplicate content
- Not checking the Performance report
- Ignoring mobile usability issues
- Rarely reviewing Search Console data
Avoiding these mistakes will help your SEO strategy stay on track.
Best Practices for Using Google Search Console
- Check your Performance report every week.
- Submit new pages after publishing.
- Fix crawl errors regularly.
- Improve low-CTR pages by updating titles and meta descriptions.
- Refresh older content with new information.
- Monitor Core Web Vitals monthly.
- Keep your XML sitemap up to date.
Benefits of Google Search Console
Using Google Search Console consistently can help you:
- Increase organic traffic
- Improve keyword rankings
- Detect technical SEO issues
- Speed up indexing
- Optimize content using real search data
- Improve user experience
- Make informed SEO decisions
Conclusion
Google Search Console is one of the most powerful free SEO tools available. Setting it up takes only a few minutes, but the insights it provides can help you improve your website’s search performance for years to come.
If you’re serious about growing your website, make Google Search Console part of your regular SEO routine. Review your reports, fix issues promptly, and use the data to create better content that meets your audience’s needs.
Frequently Asked Questions (FAQs)
1. Is Google Search Console free?
Yes. Google Search Console is completely free for all website owners.
2. How long does it take for Google Search Console to show data?
After verification, data may start appearing within a few days, though some reports can take longer to populate.
3. Do I need Google Analytics if I use Google Search Console?
Yes. Google Analytics focuses on user behavior, while Google Search Console provides insights into your site’s search performance. Together they offer a more complete picture.
4. How often should I check Google Search Console?
Review your reports at least once a week and after publishing important new content.
5. Can I request Google to index a new blog post?
Yes. Use the URL Inspection tool, enter the page URL, and click Request Indexing if the page is eligible.
Suggested WordPress Tags: Google Search Console, Google Search Console Setup Guide, SEO for Beginners, Technical SEO, Website Indexing, XML Sitemap, Google SEO, Search Console Tutorial, Blogging Tips, Grow With Tejas
“`html “` “`html “`